
Cycling Gloves: Fit, Grip, Padding, and Replacement
On this page
Quick answer
Choose cycling gloves that stay smooth when gripping the bar, allow full brake and shift control, and do not cause finger numbness, wrist pressure, or seam rubbing. Use only as much padding as feels stable for your position and terrain. Replace gloves when palms become slick or torn, padding collapses, closures fail, or crash damage compromises coverage.
This guide is for U.S. recreational, road, gravel, mountain, and commuting riders. Gloves can improve comfort and hand protection, but they do not replace correct bike fit, riding technique, weather planning, or medical evaluation of persistent symptoms.
What cycling gloves can do
Gloves can add friction between hand and grip, manage sweat, reduce rubbing, provide warmth, and protect skin during minor contact or a fall. Full-finger models add coverage from vegetation, cold, and surface contact; short-finger models increase ventilation and direct lever feel.
Padding can spread pressure or reduce some vibration, but more is not always more comfortable. Thick or poorly placed pads can create pressure ridges, alter wrist angle, reduce bar feel, and encourage a tighter grip.
No glove makes a fall safe. Impact protection varies widely, and soft palm material cannot prevent every fracture, nerve injury, or abrasion.
Check fit at the handlebar
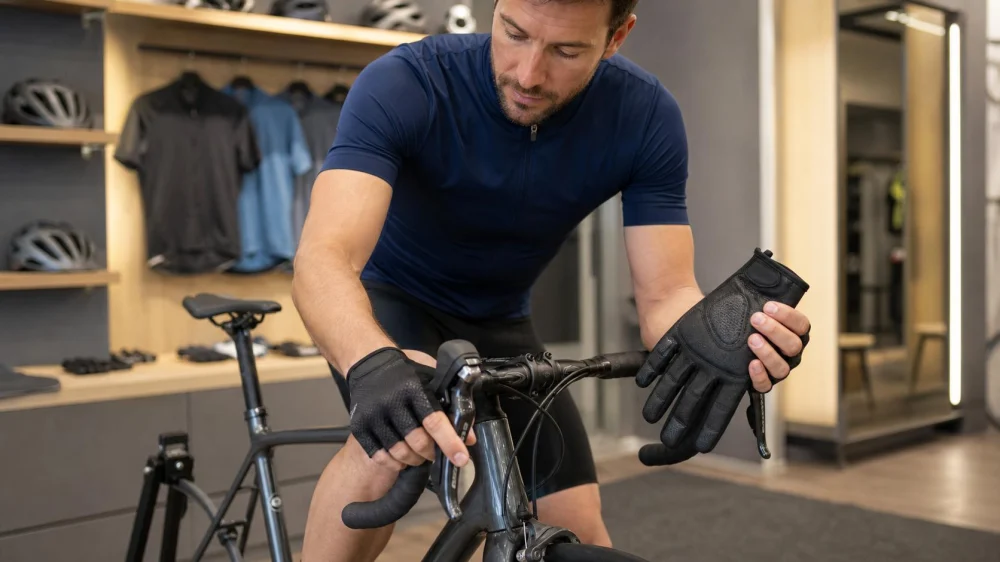
Try gloves in a riding position, not only with hands open. The palm should lie flat without a fold that bunches under the bar. Fingers should reach their natural length without compressed tips or excess fabric catching near controls.
Close the wrist securely without restricting circulation or wrist motion. Flex and extend the wrist, wrap both common hand positions, reach every brake lever and shifter, and release the grip. The glove should not rotate around the hand or pull between the fingers.
Fit can differ between brands and even models from one brand. Measure both hands using the maker's method and size for the larger hand when instructed. If hand shape falls between sizes, compare finger length, palm width, closure range, and intended stretch.
Compare padding and grip
Padding materials may include foam or gel in different densities and locations. The useful question is whether the pad supports your actual contact points without creating an edge under load. Test on the type of handlebar you ride.
A lightly padded glove may suit riders who value direct control or already have supportive bar tape and grips. More padding may appeal on rough surfaces or longer rides, but numbness should not be solved by padding alone. Bar position, reach, pressure distribution, tire setup, grip tension, and riding posture also matter.
Palm grip should remain predictable when dry and damp. Decorative rubber or silicone must not interfere with sliding the hand safely when changing positions. Touchscreen material is convenient but should not outweigh brake control and fit.
Cycling glove buying checklist
- Define conditions. Consider temperature, rain, trail contact, ride length, and the controls you use.
- Choose coverage. Compare short-finger ventilation with full-finger warmth and skin coverage.
- Test riding posture. Grip a suitable bar and operate brakes, shifts, dropper, and electronic buttons.
- Inspect palm folds. Reject bunching, seam pressure, or padding edges under contact points.
- Check circulation. Look for constriction, tingling, color change, or a closure that digs into the wrist.
- Evaluate wet grip. Review material and care guidance for sweat and expected weather.
- Practice removal. Tabs can help with short-finger gloves; do not pull so hard that seams tear.
- Confirm care. Choose a glove you can wash and dry according to the maker's instructions.
Care and replacement signs
Dry gloves after sweaty or wet rides before storing them. Follow the label for washing, water temperature, detergent, and drying. High heat can damage elastic, adhesives, padding, grip prints, leather, and synthetic materials.
Inspect the palm, thumb web, fingertips, seams, closure, and pull tabs. Replace a glove when a hole exposes skin, grip material peels or becomes slick, a seam creates pressure, padding shifts or stays compressed, or the closure no longer secures the wrist.
After a crash, look for abrasion, torn stitching, stretched fabric, and damage around any protective insert. A glove can look usable from the back while the palm has been weakened.
Limitations and important notes
- Persistent numbness, weakness, pain, or loss of hand control is not a normal fit problem to ignore.
- Stop riding safely and seek appropriate medical evaluation for concerning or ongoing symptoms.
- Gloves do not correct excessive reach, poor wrist position, a damaged grip, or faulty brake controls.
- Water-resistant does not always mean waterproof, and insulation needs vary with circulation and exposure.
- Do not wear a glove that prevents rapid, strong brake operation.
- Clean contamination from oil, fuel, solvent, or chemicals according to manufacturer guidance; replace when material integrity is uncertain.
Frequently asked questions
Do cycling gloves prevent hand numbness?
They may change pressure and comfort, but numbness can involve fit, posture, grip, bike setup, duration, or a medical issue. Do not rely on gloves as a complete fix.
Are gel gloves better than foam?
Not universally. Material density, placement, thickness, palm shape, handlebar, and rider position matter more than the label alone.
Should gloves feel tight when new?
They should be secure without restricting circulation or control. Do not buy a painful glove on the assumption that it will stretch enough.
Can I use ordinary gym gloves for cycling?
They may fit differently around bicycle contact points and controls. Test brake and shift access, seams, palm grip, and wrist motion before relying on them.
How often should cycling gloves be replaced?
Replace by condition rather than a fixed calendar: loss of grip, tears, failed closures, compressed padding, seam damage, odor that cleaning cannot resolve, or crash damage.
Sources and evidence notes
This article reflects common cycling fit and equipment practice: assess gloves while gripping the actual controls, avoid concentrated pressure and restricted circulation, match coverage to conditions, and replace worn protective gear.
Use manufacturer sizing and care instructions, a qualified bike fitter or shop, and licensed healthcare advice for persistent hand symptoms.
Conclusion and next steps
Bring your usual riding position into the fitting process. Test the palm flatness, finger length, brake reach, wrist motion, and grip with the bar you use. Select the least bulky glove that provides the coverage and comfort you need, care for it after wet rides, and inspect the palms regularly. A glove should support control—not become another pressure point between you and the bicycle.






 D & D rides0.0 (0 reviews)
 Clyde James Cycles4.0 (210 reviews)
 Bike Junkie4.0 (179 reviews)
 P-51 Electric Bike Company4.0 (15 reviews)
 LAST MILE SF4.0 (197 reviews)
 Beverly Bikes4.0 (130 reviews)
 How to Teach Kids to Ride a Bike: A Step-by-Step Guide for Parents
 Tips for Riding on Busy City Streets: Smart Strategies for Urban Cyclists
 Best US National Parks for Mountain Biking: Ride Epic Trails Across America
 Best Aero Helmets for Time Trials and Racing
 How to Clean and Lubricate Your Bike Chain Like a Pro
 10 Must-Have Items for Long-Distance Cycling Trips