
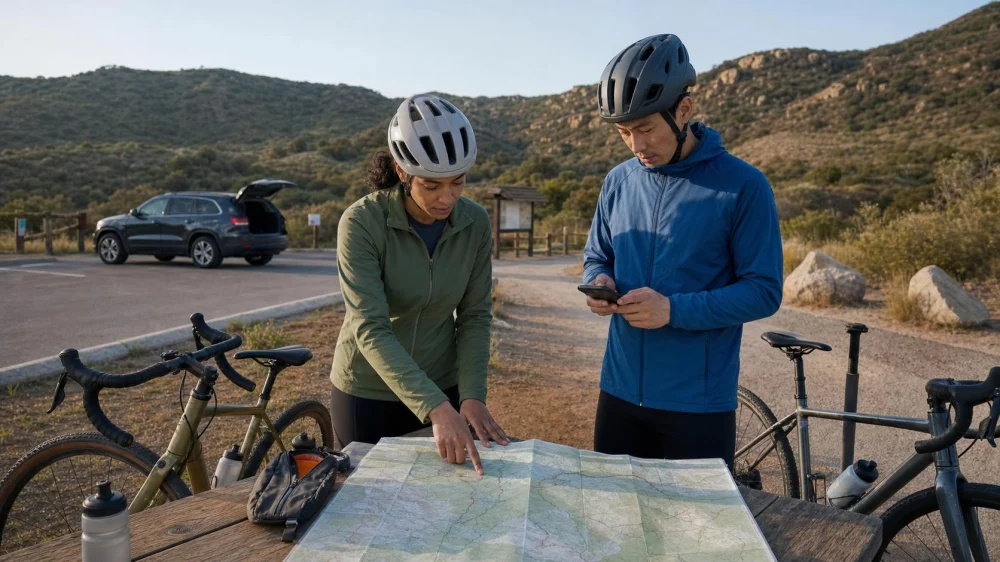
Cycling Route Bailout Plans: Build Options Before You Ride
On this page
Quick answer
Before a long ride, mark places where you can safely shorten the route, obtain water or shelter, reach public transit, or meet a pickup vehicle. Set a turnaround time and conditions that trigger each option. Download the map, share the plan, and verify that roads, gates, transit, and pickup points are actually usable. A bailout is a planned alternative—not an improvised shortcut.
This guide is for road, gravel, greenway, and recreational mountain-bike riders in the United States. Route access, transit, mobile coverage, and land rules vary, so verify current official information for the exact location.
What a bailout plan means
A cycling bailout plan is a pre-checked way to shorten, pause, or end a ride when time, weather, fatigue, equipment, access, or a rider’s condition changes. It identifies both the route and the decision that activates it.
“We can call someone” is not a complete plan. The group needs a reachable pickup place, communication method, current location, vehicle access, and a person who has agreed to help. Likewise, a line on a map is not an exit if it crosses private land, a locked gate, an unsafe highway, or terrain beyond the group’s ability.
Map useful exit points
Review the full route in sections. Look for confirmed connections to maintained roads, staffed facilities, towns, trailheads, transit stops that carry bicycles, and legal parking areas. For each point, record:
- distance and climbing from the previous decision point;
- surface and technical difficulty;
- whether the route is legal for bicycles;
- seasonal gates, opening hours, or transit schedules;
- water, shelter, restroom, or phone availability only when confirmed;
- a clear place where the group can wait without blocking traffic.
A useful exit reduces risk or effort. A “shortcut” with more climbing, rougher terrain, river crossings, or high-speed traffic may be worse than continuing on the planned route.
Set turnaround and decision points
Connect each exit to a simple rule. Examples include turning back if the group reaches a junction after a specified time, using a shorter loop when weather is worsening, or ending at a staffed trailhead when a mechanical issue remains uncertain.
Make decisions while options remain. Waiting until every rider is exhausted, darkness is near, or the weather has arrived can turn an easy exit into a difficult one.
- Time rule: choose the latest arrival at a junction that still leaves daylight and margin.
- Group rule: use the conservative option when a rider cannot maintain the planned effort or shows concerning symptoms.
- Mechanical rule: stop when braking, steering, wheel retention, frame integrity, or repair quality is uncertain.
- Weather rule: set objective triggers based on current official alerts and local conditions, not hope that a storm will miss.
- Access rule: do not bypass closures, locked gates, private-property signs, or trail restrictions to reach an exit.
Make pickup realistic
Choose pickup points a driver can legally and safely reach. Share a street address or coordinates, road approach, vehicle description, likely arrival window, and a backup location. Check whether the road is paved, gated, seasonally maintained, or unsuitable for the vehicle.
Agree in advance who can pick up the riders and whether the vehicle can carry the people and bicycles. A small car without a rack may not solve a group’s problem. Keep protective padding or a suitable rack available when pickup is part of the plan.
When one rider exits, decide whether the group stays together. Splitting can create communication and navigation problems. If separation is appropriate, every subgroup needs the map, tools, supplies, and clear meeting instructions required for its route.
Prepare offline navigation and communication
Download the route and surrounding area, then open it with the phone offline. Save the bailout points, not only the main track. Carry a paper map appropriate to the route when remoteness or consequences justify it.
Share the primary route, alternatives, rider names, vehicle details, and overdue time with a trusted contact. Mobile coverage may disappear in valleys, forests, and remote roads. Match communication equipment to the route and test it before departure; satellite tools require correct activation, power, operation, and sky view.
Protect battery power and distribute critical information. One damaged phone should not remove every map, contact, and pickup detail.
Route bailout checklist
- Divide the route. Identify logical junctions and sections with limited exits.
- Verify alternatives. Check legality, surface, climbing, gates, traffic, and current closures.
- Set triggers. Write time, weather, group, and mechanical decision rules.
- Confirm pickup points. Test vehicle access, waiting space, address, and bicycle capacity.
- Download the whole area. Make the main route and exits available offline.
- Share the plan. Give a trusted contact the routes, timing, alternatives, and overdue procedure.
- Carry independent essentials. Pack navigation, water, food, repair supplies, lights, identification, and communication for the route.
- Recheck on ride day. Review weather, air quality, fire information, access, transit, and group readiness.
Limitations and important notes
- Maps and user-submitted routes may contain outdated, private, closed, or unsuitable connections.
- Transit bicycle rules, capacity, and schedules can change; verify with the operator.
- A pickup depends on communication, vehicle access, and an available driver. Carry the essentials needed to wait safely.
- General route planning cannot determine medical fitness. Stop for serious or worsening symptoms and seek appropriate emergency or professional help.
- Do not continue riding a bicycle with uncertain braking, steering, wheel, or structural damage.
Frequently asked questions
How many bailout points does a route need?
There is no fixed number. Add enough that the group understands where options become limited and can make decisions before long, remote, or difficult sections.
Can a convenience store be a bailout point?
Only after checking its current hours, bicycle access, location, and suitability as a safe meeting place. Do not assume water, restrooms, seating, or phone charging.
Should the group turn around when one rider is struggling?
Use the pre-agreed conservative rule and assess the situation. The group’s safe plan matters more than completing the route. Serious or worsening symptoms require appropriate help.
Is rideshare a reliable backup?
It can help in some populated areas, but driver availability, coverage, bicycle transport, road access, and service terms vary. Do not make it the only option on a remote route.
What if the planned exit is closed?
Do not bypass the closure. Use the last verified option, another legal route, or the group’s wait-and-contact plan. This is why several decision points and an offline surrounding-area map matter.
Sources and evidence notes
This guide reflects broad outdoor route-planning practice: identify alternatives before commitment points, verify access, set objective turnaround rules, share an itinerary, and carry redundant navigation. Exact closures, land rules, transit service, weather, and emergency information come from current responsible agencies and operators.
Add options to your next route
Open your next cycling route and mark the first place where turning back becomes difficult. Add a verified exit before it, define the trigger, and share the pickup details. Repeat for each isolated section. The goal is not to expect failure; it is to keep one change from removing every safe choice.






 Upland Pump Track5.0 (1 reviews)
 Lebo's Pedal Parlor4.0 (44 reviews)
 The Bicycle Co-Op of Williamsburg4.0 (31 reviews)
 Firmstrong4.0 (7 reviews)
 SCR Bicycle Frames5.0 (2 reviews)
 Pedego Electric Bikes Harrisburg4.0 (64 reviews)
 How to Teach Kids to Ride a Bike: A Step-by-Step Guide for Parents
 Tips for Riding on Busy City Streets: Smart Strategies for Urban Cyclists
 Best US National Parks for Mountain Biking: Ride Epic Trails Across America
 Best Aero Helmets for Time Trials and Racing
 How to Clean and Lubricate Your Bike Chain Like a Pro
 10 Must-Have Items for Long-Distance Cycling Trips