- 1 - Why Build a DIY Bike Repair Kit?
- 2 - Essential Tools for Your DIY Bike Repair Kit
- 3 - Step-by-Step Guide to Assembling Your DIY Kit
- 4 - Tips for Maintaining Your Bike with the Repair Kit
- 5 - Where to Buy the Best Tools for Your Kit
1 - Why Build a DIY Bike Repair Kit?
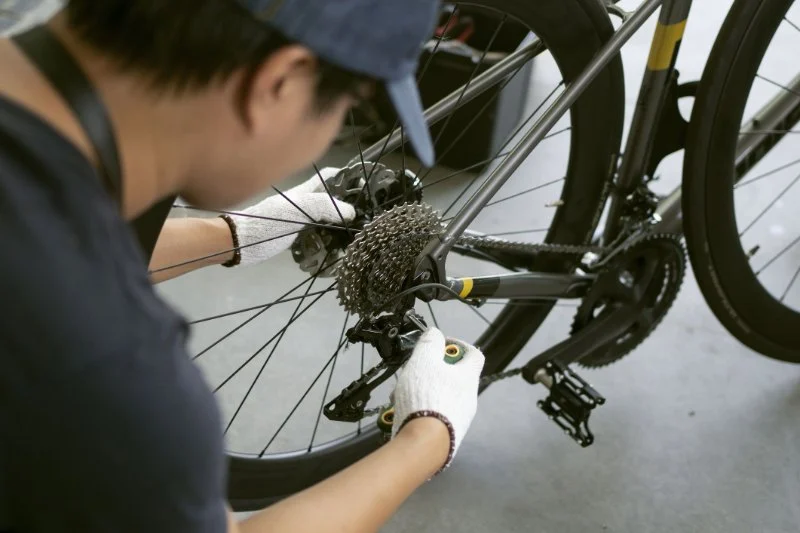
If you’re a cycling enthusiast, you know that breakdowns or minor issues are inevitable during rides, especially when you’re out on long-distance trips or in remote areas. Having the right tools to fix a flat tire, adjust gears, or tighten loose bolts can make all the difference. This is where a DIY bike repair kit comes in. Instead of relying on external help or expensive repair shops, creating your own repair kit gives you the convenience and confidence to fix your bike on the go. In this guide, we will walk you through how to build a DIY bike repair kit that suits your needs and ensures you’re always ready for the road.
2 - Essential Tools for Your DIY Bike Repair Kit
Building a comprehensive bike repair kit involves gathering essential tools that address common issues cyclists face. Here’s a list of must-have items to include:
- 1. Tire Levers: These tools are crucial for removing tires from the rims when fixing flats. A good set of tire levers will help you avoid damaging your tube or tire while working.
- 2. Patch Kit: Essential for sealing small punctures, a patch kit is an indispensable tool for tire repair. Make sure it includes rubber patches, glue, and sandpaper for preparation.
- 3. Multi-tool: A compact, all-in-one tool will help you adjust gears, tighten bolts, and make general bike adjustments. Look for a multi-tool with functions specific to your bike’s needs.
- 4. Spare Inner Tube: Flats happen. Carrying a spare inner tube ensures that you don’t have to spend time fixing a puncture if you’re far from home.
- 5. Pump or CO2 Inflator: Keeping your tires at the proper pressure is essential for a smooth and safe ride. A small, portable pump or CO2 inflator is an excellent addition to your kit.
- 6. Chain Tool: A chain tool allows you to fix or remove broken links in your chain, which is critical if your chain snaps while you’re on the go.
- 7. Wrenches and Screwdrivers: Having a set of wrenches and screwdrivers will help you tighten or adjust various parts of your bike, including pedals, handlebars, and derailleurs.
3 - Step-by-Step Guide to Assembling Your DIY Kit
Now that you know which tools are essential for your DIY bike repair kit, it’s time to assemble everything. Follow these simple steps to create your kit:
- 1. Choose a Suitable Bag or Container: Select a durable, compact bag or box that fits your tools. Ensure it’s waterproof or water-resistant to protect your gear from rain or moisture.
- 2. Arrange Your Tools: Organize your tools efficiently so that you can access them quickly. Group similar items together, such as tire repair items, chain tools, and multi-tools.
- 3. Add Extra Parts: Besides the essential tools, consider adding extra parts like chain links, extra tire patches, or brake pads for emergencies. These items can save you time and effort on the road.
- 4. Test Your Kit: After packing your kit, take some time to test each tool and ensure they function properly. This will prevent any frustration when you’re in need of a quick fix.
- 5. Keep Your Kit Updated: Regularly check your kit to ensure all tools are in good condition and replace any worn-out items.
4 - Tips for Maintaining Your Bike with the Repair Kit
In addition to having a DIY repair kit, regular maintenance is essential to keep your bike in good shape. Here are some useful tips for maintaining your bike:
- 1. Check Tire Pressure: Proper tire pressure is key to smooth rides and avoiding flats. Use a pressure gauge regularly to check your tire’s inflation level.
- 2. Clean and Lubricate the Chain: A well-lubricated chain reduces friction and prevents rust. Clean your chain regularly and lubricate it after every few rides.
- 3. Inspect Brakes and Gears: Make sure your brakes are working properly and adjust your gears as needed to ensure smooth shifting.
- 4. Tighten Bolts and Fasteners: Ensure that all bolts, nuts, and fasteners are properly tightened to prevent loose parts that could cause accidents or further damage.
5 - Where to Buy the Best Tools for Your Kit
When it comes to purchasing the right tools for your DIY bike repair kit, quality is key. You’ll want to invest in tools that are durable, easy to use, and compact enough for portability. Here are a few trusted places to find the best tools for your kit:
- 1. Local Bike Shops: Many local bike shops offer high-quality bike repair tools and kits, plus the benefit of in-person advice from cycling professionals.
- 2. Online Retailers: Websites like Amazon, REI, and Chain Reaction Cycles offer a wide selection of bike repair tools, often with customer reviews to help you choose the best items for your needs.
- 3. Specialized Cycling Stores: For high-end tools and more specialized products, check out dedicated cycling stores like Bike24, Jenson USA, or Performance Bicycle.
Building your own DIY bike repair kit is a great way to ensure that you're always prepared for any issues on your ride. Whether you're a seasoned cyclist or just starting, having the right tools can make all the difference. Remember, the key is to be prepared, and a well-stocked kit can help you address many common problems on the go.
For the best products, advice, and services to help with your bike repair needs, check out Cycling Guider.


 Billet BMX5.0 (2 reviews)
 Far East Children Bicycle Factory1.0 (1 reviews)
 Archer Motorsports, Inc.4.0 (8 reviews)
 YEP Bike Works4.0 (55 reviews)
 Gorham Bike & Ski4.0 (498 reviews)
 Alchemy Bikes4.0 (37 reviews)
 How to Teach Kids to Ride a Bike: A Step-by-Step Guide for Parents
 Tips for Riding on Busy City Streets: Smart Strategies for Urban Cyclists
 Best US National Parks for Mountain Biking: Ride Epic Trails Across America
 Best Aero Helmets for Time Trials and Racing
 How to Clean and Lubricate Your Bike Chain Like a Pro
 10 Must-Have Items for Long-Distance Cycling Trips